With just two simple clicks you can turn a HEIC file into a JPG using a trick. The HEIC image format arrived in 2017 with the iOS 11 and macOS High Sierra versions. It’s the standard format in Apple’s operative systems and it can reduce the size of multimedia files. It’s a format designed to avoid quality losses when moving and opening the files in your operative system.
Although the format succeeds in reducing the images weight, it also brings compatibility issues outside the Apple ecosystem. The user has to turn the HEIC into JPG to run the file in Android, Windows or some Linux distributions. But there’s a trick that converts HEIC to JPG in seconds.
Trick to turn HEIC into JPG in just a few steps
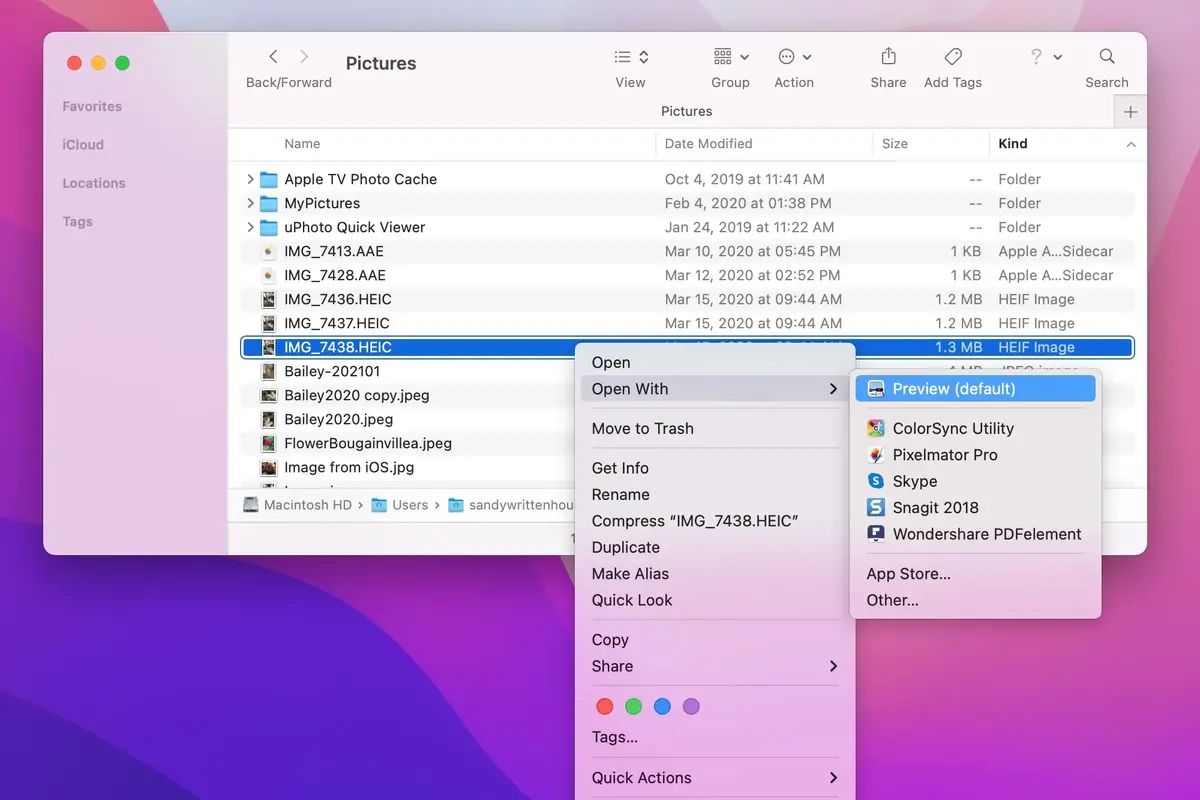
Apple realizes that turning HEIC files to JPG is necessary that’s why the trick is easy to perform. The macOS Sonoma and newer versions can use the trick, you only need to press the secondary button over the HEIC file. Then you have to click on Quick actions and select Convert image. A new box will appear where you can select the new format and size of your file. The user can also choose to keep or erase metadata of the image.
Once you have decided the characteristics of your new JPG file, you just have to wait for the transformation to end. Another good feature of this trick is the group conversion. You can select multiple files at once to change them from HEIC to JPG.
Do you have any questions or problems related to the topic of the article? We want to help you.
Leave a comment with your problem or question. We read and respond to all comments, although sometimes it may take a while due to the volume we receive. Additionally, if your question inspires the writing of an article, we will notify you by email when we publish it.
*We moderate comments to avoid spam.
Thank you for enrich our community with your participation!