If you are looking for a guide on how to record your screen on a Mac, this step-by-step tutorial will show you how to use the built-in QuickTime player to record your entire screen or just a portion of it. From opening QuickTime player to exporting your final video, this guide covers everything you need to know to record your screen on a Mac.
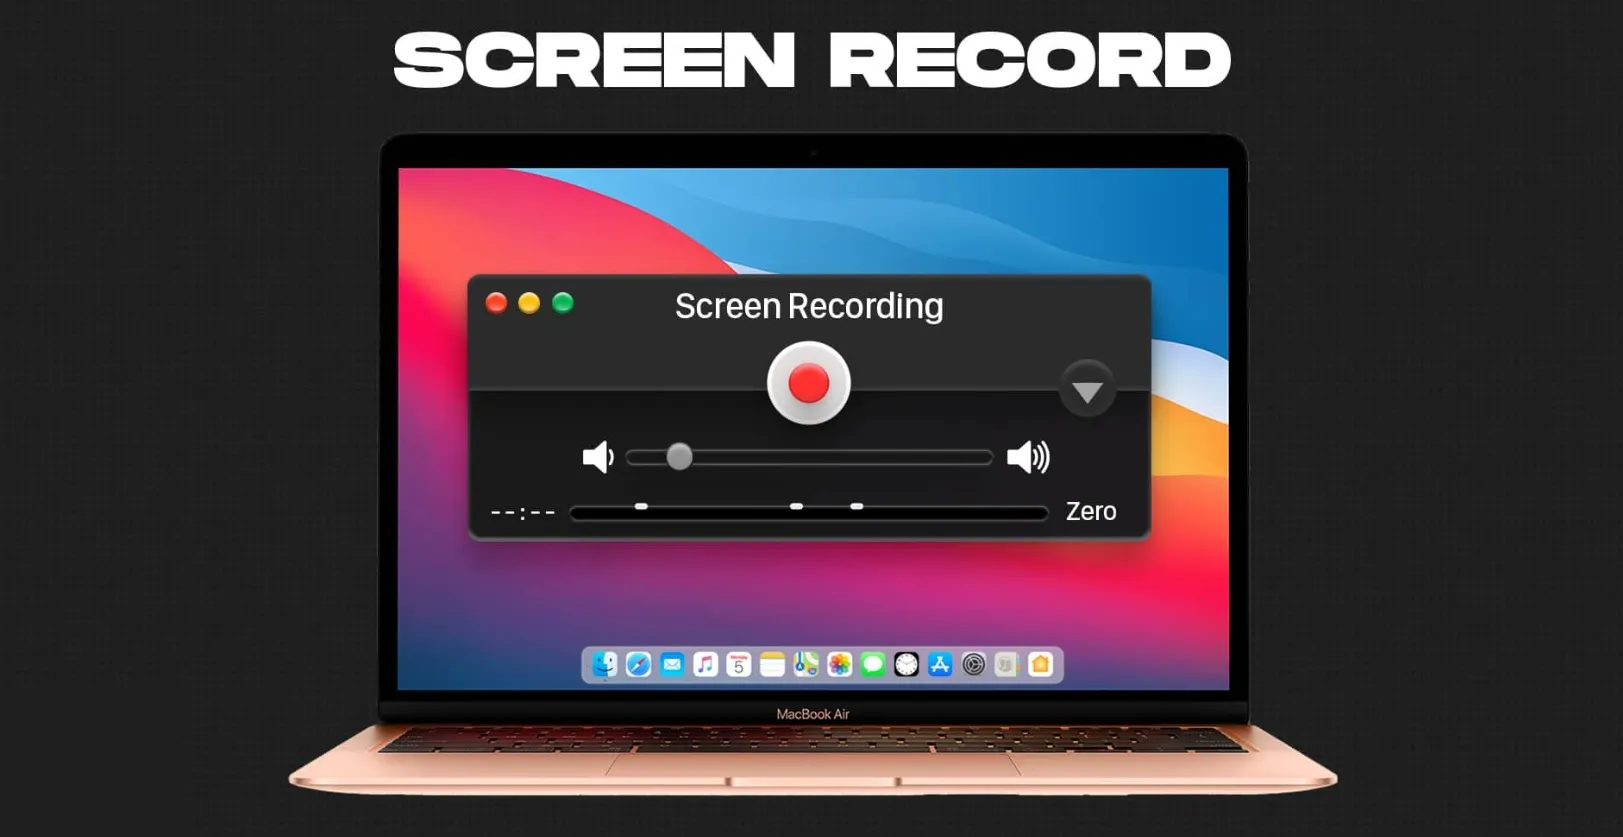
Mac Screen Recording Made Easy
Recording your screen on a Mac is a simple process that can be done through the built-in QuickTime player. Here’s a step-by-step guide on how to record your screen on a Mac:
- Open QuickTime Player. You can find it in your Applications folder or by searching for it using Spotlight.
- Click on the “File” menu and select “New Screen Recording.”
- A small window will appear with a record button and options to choose the microphone and camera. Select the microphone and camera you want to use, if you don’t want to use these options just click the red button to start recording.
- Use the drop-down menu to choose whether to record the entire screen or just a portion of it.
- Click the “Record” button to start recording your screen.
- When you’re finished recording, click the stop button in the menu bar or press Command-Control-Esc to stop recording.
- After you stop recording, the video will be saved to your hard drive and will automatically open in QuickTime player.
- You can now edit and export the video as per your requirement.
Through third-party software
Another way to record your screen on a Mac is to use third-party software such as OBS (Open Broadcaster Software) or ScreenFlow. Both of these programs offer advanced features and customization options that are not available through QuickTime Player.
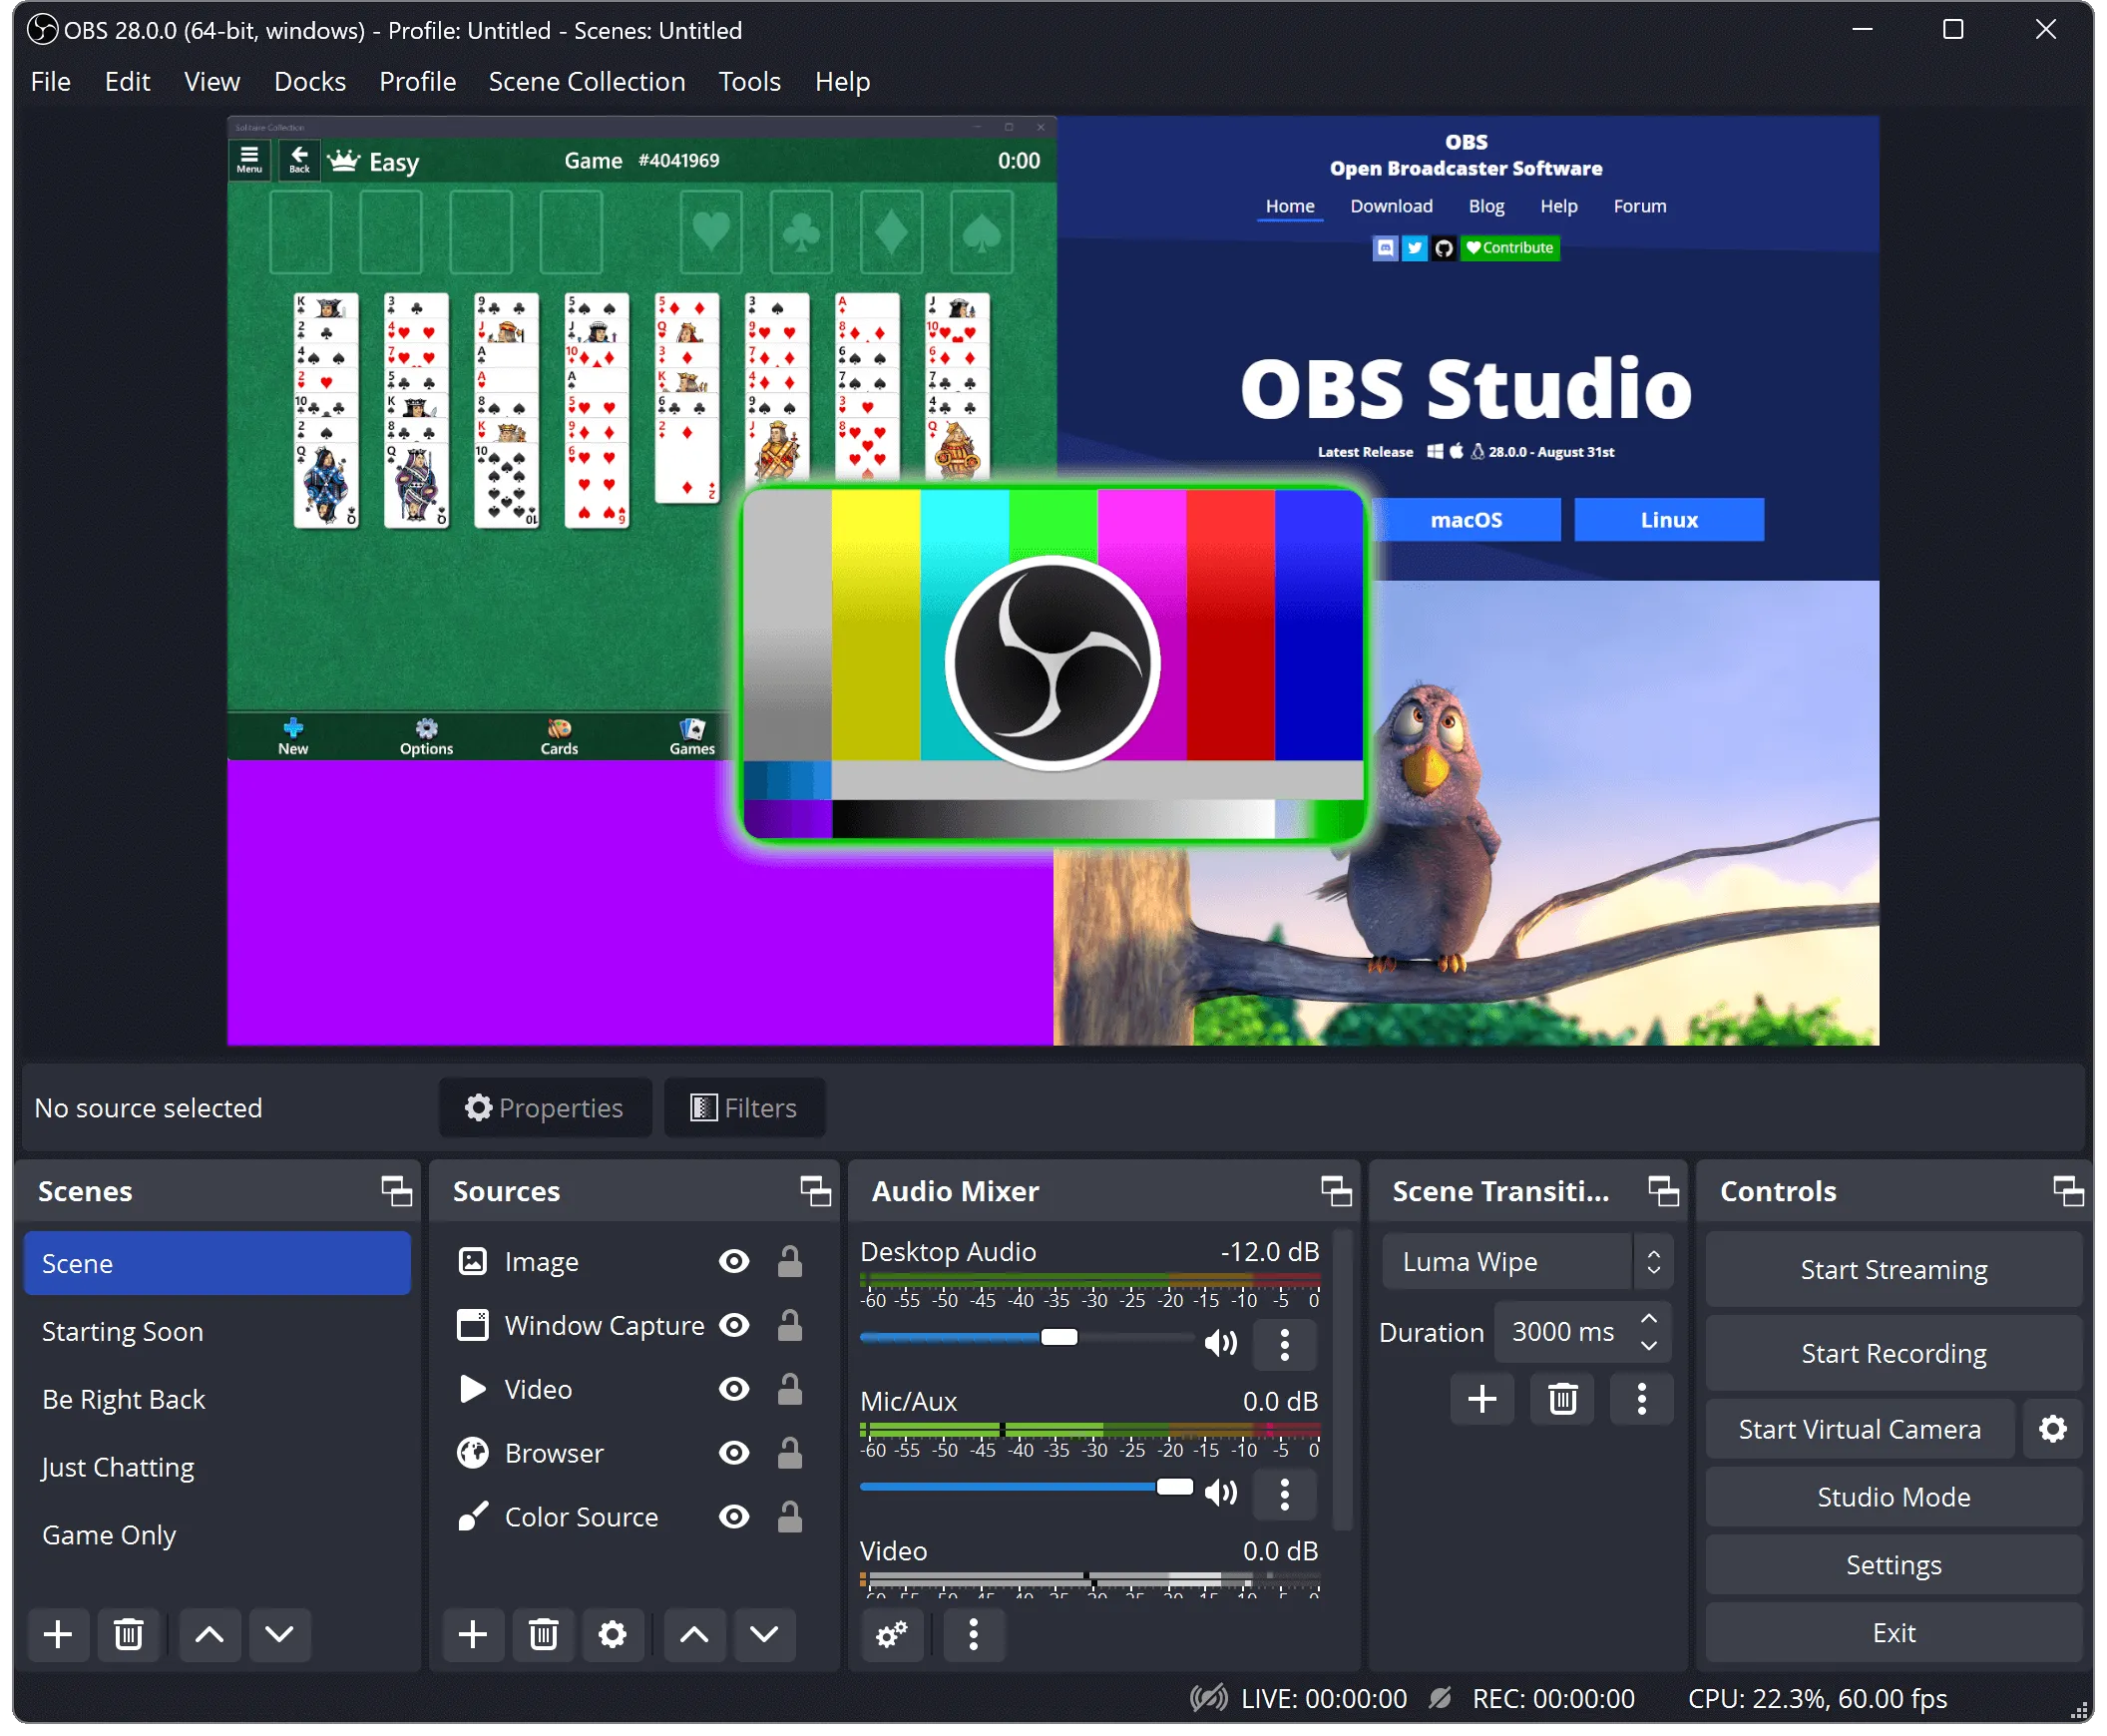
- OBS: OBS is a free and open-source program that allows you to record your screen, capture audio, and stream your recordings live. It also includes a wide range of video and audio editing tools, so you can make professional-looking videos. To use OBS, you can download it from the official website, and after the installation you can start to customize the settings as per your requirement.
- ScreenFlow: ScreenFlow is a paid screen recording software, it is a more professional option. It provides advanced features such as video editing, annotations, and the ability to record multiple audio sources simultaneously. It also has a built-in video editor, which makes it easy to create polished, high-quality videos. To use ScreenFlow you can download it from their official website and purchase the license.
Both OBS and ScreenFlow offer more advanced features than QuickTime Player, and are suitable for users who want more control over their screen recordings.
Do you have any questions or problems related to the topic of the article? We want to help you.
Leave a comment with your problem or question. We read and respond to all comments, although sometimes it may take a while due to the volume we receive. Additionally, if your question inspires the writing of an article, we will notify you by email when we publish it.
*We moderate comments to avoid spam.
Thank you for enrich our community with your participation!