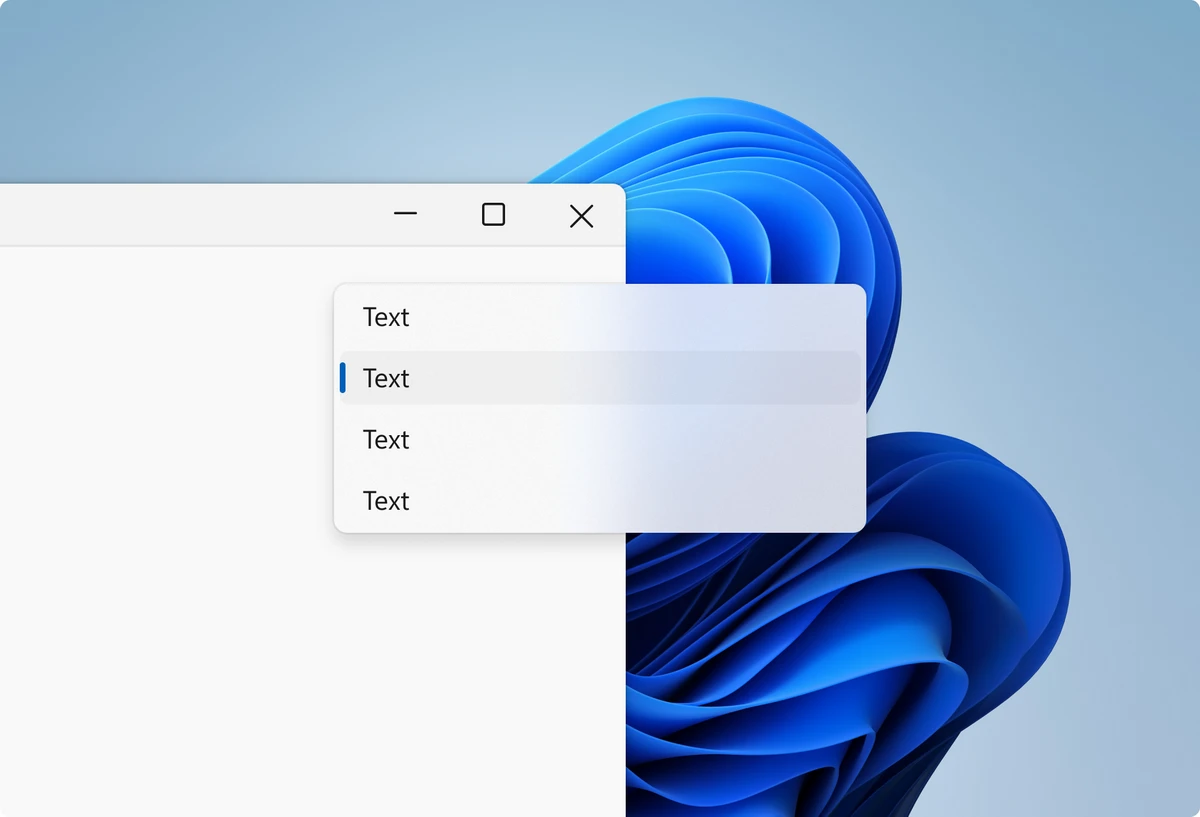
Thanks to Fluent Design in Windows 11, the operative system looks more elegant and modern. One of the new features is called Transparency and it applies a transparent background to desktop, taskbar and Start menu. The Windows 11 Fluent Design and Transparency effect is based on Acrylic environment and helps to improve the contextual menu looks.
However, the Transparency effect also demands a high amount of resources such as RAM, CPU and GPU power. If your computer works slow when Transparency is on, you should consider deactivating the feature. It’s an easy process you can complete in different ways such as other Windows 11 personalization issues.
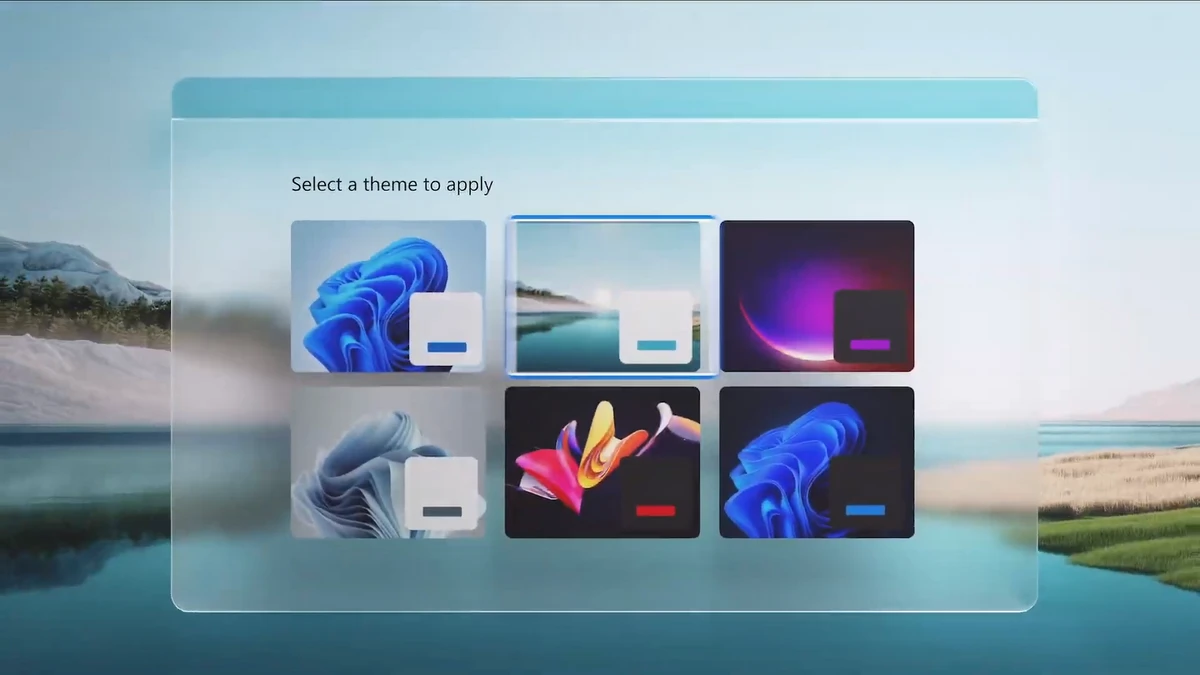
Remove transparency effect from Settings
The simplest way to turn off Transparency effect in Windows 11. You must open the Settings app from the Start menu and follow these steps:
- Open Personalization and select Themes.
- Press the Color menu and select remove or activate the Transparency effect toogle.
- Remove transparency effect in Windows 11 from Registry editor
- You can customize some features from Windows 11 using the Regedit tool. Open it from the Search bar and complete these steps:
- Open the route: HKEY_CURRENT_USER – Software – Microsoft – Windows – CurrentVersion – Themes – Personalize
- Double click on the valor EnableTransparency to enter its Properties.
- To turn off the effect write 1 and to remove it write 0.
- Apply the changes.
Remove the effect directly from Transparency settings in Windows 11
You can enter the Visual effects directly from the Search bar and Toogle the Transparency effect switch on or off.
Remove or turn on the effect in lock screen
The Windows 11 Transparency effect can also be applied in the lock screen. You must customize this option from the Regedit app
- Open Regedit.
- Press a free space and right click to create a new DWORD value.
- Assign it the name ForceEffectMode.
- Apply 1 as value.
Configure the Transparency effect in the Start menu
You can apply the Transparency effect in the Start menu of our Windows. Again you have to enter the Regedit application.
- Go to the route HKEY_CURRENT_USER – Software – Microsoft – Windows – CurrentVersion – Explorer – Advanced
- Create a new DWORD 32 value.
- Use the name OLEDTaskbarTransparency and set 1 to activate It and 0 to remove it.
- Confirm the changes.
Remove the Transparency effect on Title bar
Open the Search bar and type Title bar to set the Transparency effect on or off. You need to select the color of the Title bar and set the slider according to the transparency you want.
Remove Transparency effect in Windows 11 Terminal
You can open the Terminal as Administrator to activate or remove the Transparency effect.
- Right click the title bar and select Properties.
- In the Appearance tab select Show acrylic in tab row.
- Close the Terminal and open it again to show the results.
Activate the Transparency effect in Windows 11 CMD
You can also add the Transparency effect on the CMD console.
- Open CMD as Administrator.
- Right click the title bar and select Properties.
- In the new window select the Color tab.
- Adjust the level of Opacity.
These are the current ways you can use to customize the Transparency effect in the operative system. It consumes resources but it also makes your operative system look nicer.
Do you have any questions or problems related to the topic of the article? We want to help you.
Leave a comment with your problem or question. We read and respond to all comments, although sometimes it may take a while due to the volume we receive. Additionally, if your question inspires the writing of an article, we will notify you by email when we publish it.
*We moderate comments to avoid spam.
Thank you for enrich our community with your participation!