Windows 11 is an operating system developed with a vast number of functions and features. However, like any other system, it is prone to errors. One of the most delicate issues is the restart loop, where the system keeps restarting repeatedly without starting a normal session. There are different causes for this error, ranging from local system configurations to incorrectly configured application parameters.
It is possible that you have faced an almost endless Windows 11 restart loop. It often happens during OS installation or update. In case you find yourself stuck in an infinite restart loop when installing Windows 11, check out this tutorial with different solutions for the issue. The alternatives we offer you provide a comprehensive fix to the error through different menus.
Solve the Windows 11 restart look with Advanced Startup
The Advanced startup mode allows the user to perform actions on the system in case it fails. It provides you with access to the CMD console, the safe mode or system restore options among others.
- If you can access the system, go to Start – Settings – System – Recovery.
- Click on the Restart now button and confirm the order.
- If the error persists and you can’t access your system, you can use the Power or Restart button. During the startup press the Restart button three times or turn on and off the PC three times if you don’t have a Restart button. This action enters the automatic repair mode.
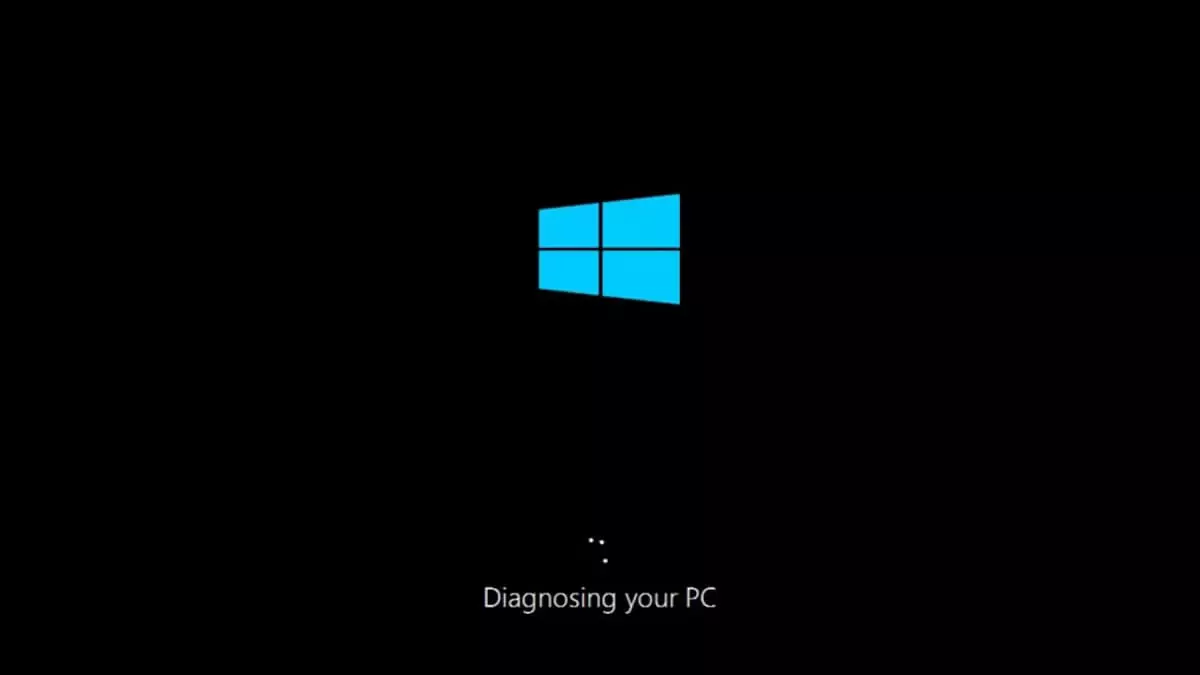
- Wait for the system analysis.
- Click on Advanced options.
- Select Troubleshoot and then Advanced options.
- Choose Startup Repair from the list of possible actions.
- Your hard disk will be scanned in search of any errors causing the Windows 11 restart loop.
- Revise if you can access the system normally.
- If you still can’t open Windows or it works slow click on the Start menu and select the Restart option.
- The PC will restart in Advanced mode and you need to select Troubleshoot again.
- Click on the Uninstall updates option.
- Select the type of update you want to uninstall.
- Confirm the order.
- You can also select System Restore option in the main menu.
- Follow the assistant to choose a desired restore point.
- Click on Finish and Yes for the restoration process to end.
- Another alternative is to reset the computer to the original state. From the Advance mode select the Troubleshoot option and Reset this PC.
- Choose whether to keep the files or not.
- Define the installation method: local or cloud based.
- Wait for the values to load and click on Rest to start the process.
Recommended article: What to do if Windows 11 won’t boot.
Solve the restart loop by checking Startup Applications
Another possible cause for the restart loop in Windows 11 is that some programs or apps in the operating system startup are failing. Fortunately, you can disable them to check which one is causing the error.
- Type regedit in the Start search bar.
- Open the registry editor and go to the following path:
- HKEY_LOCAL_MACHINE\SYSTEM\CurrentControlSet\Control\ServiceGroupOrder
- Double-click on the List entry and you will see all the services and apps that start along Windows 11. You can remove all those that are not essential and apply the changes.
- Go to Start – Settings – Apps – Startup.
- Disable the switches for the apps you don’t want to start with Windows 11.
Solve the problem trough driver verification
A common cause for the restart loop is related to drivers. These files allow the correct interaction between the computer and the user, but they must be signed for the system to recognize them as reliable and make full use of the features. Therefore, you can revise the status of the drivers’ signatures.
- Open the Command Prompt as administrator.
- Run the command: sigverif.exe.
- The command lets you verify the digital signature of executable files in Windows 11. Then you can make sure that the files have not been modified or manipulated, thus impacting in the system’s security and data.
- Click on the Start button in the assistant window.
- Wait for the driver analysis completion.
- If there are any errors, it would indicate which drivers are affected.
Solve the Windows 11 restart loop by uninstalling apps
If an app is causing the restart loop you can directly uninstall it. The process is very easy. Just go to the following path: Start – Settings – Apps – Installed Apps.
- Click on the context menu of the application you want to remove.
- Click on Uninstall and confirm the order.
- Follow the indications of the wizard.
- Check that the application is erased.
Configure the Lock Screen
The lock screen in Windows 11 receives several updates in terms of design and dynamic features, but these updates can impact negatively on the system performance. This is even more noticeable in computers with limited hardware. In order to mitigate this, you can reduce the lock screen features:
- Go to Start – Settings – Personalization – Lock screen.
- Select lock screen settings.
- Set the value to None in Lock screen status.
- Log out of your current session and apply the changes.
- Log back in and access the lock screen settings again.
- Click on Screen saver and confirm the checkbox Show the login screen is deactivated.
- Apply the changes if necessary.
Fix Windows 11 restart loop disabling automatic restart
In Windows 11 you have a feature that automatically restarts the system if an error is detected. This allows the repair process to start faster. However, this automatic restart can be the cause of the restart loop. In order to disable this feature do the following:
- Go to Start menu and select Settings.
- Click on System and open the Advanced system settings.
- Under the Startup and Recovery section click on Settings.
- Uncheck the box for the Automatically restart function.
- Apply the changes.
Revert drivers
The drivers in Windows 11 are updated in a regular basis to provide a better performance. Sometimes, the updates can have a negative impact on the computer originating the restart loop issue. To fix it you can revert to the previous driver version. The steps to do this are:
- Open the Device Manager searching for it in the Start menu.
- Locate the driver that is causing the error and double-click on it to access the properties window.
- Open the Driver tab.
- Select Roll Back Driver if available to revert to the previous driver version.
- Follow the instructions.
Reinstall Windows
If none of the above solutions worked, you can perform a full reinstallation of Windows 11. The process is relatively easy:
- Go to the following address to download the Windows Media Creation Tool: https://www.microsoft.com/en-us/software-download/windows10
- Run the file.
- Accept the license agreement.
- Choose whether to use the current computer’s configuration or use a different one to create the ISO.
- Create the USB media directly to reinstall the Windows.
- Once the USB media Is ready you can start the computer from it and follow the instructions to proceed with the installation process.
Do you have any questions or problems related to the topic of the article? We want to help you.
Leave a comment with your problem or question. We read and respond to all comments, although sometimes it may take a while due to the volume we receive. Additionally, if your question inspires the writing of an article, we will notify you by email when we publish it.
*We moderate comments to avoid spam.
Thank you for enrich our community with your participation!