
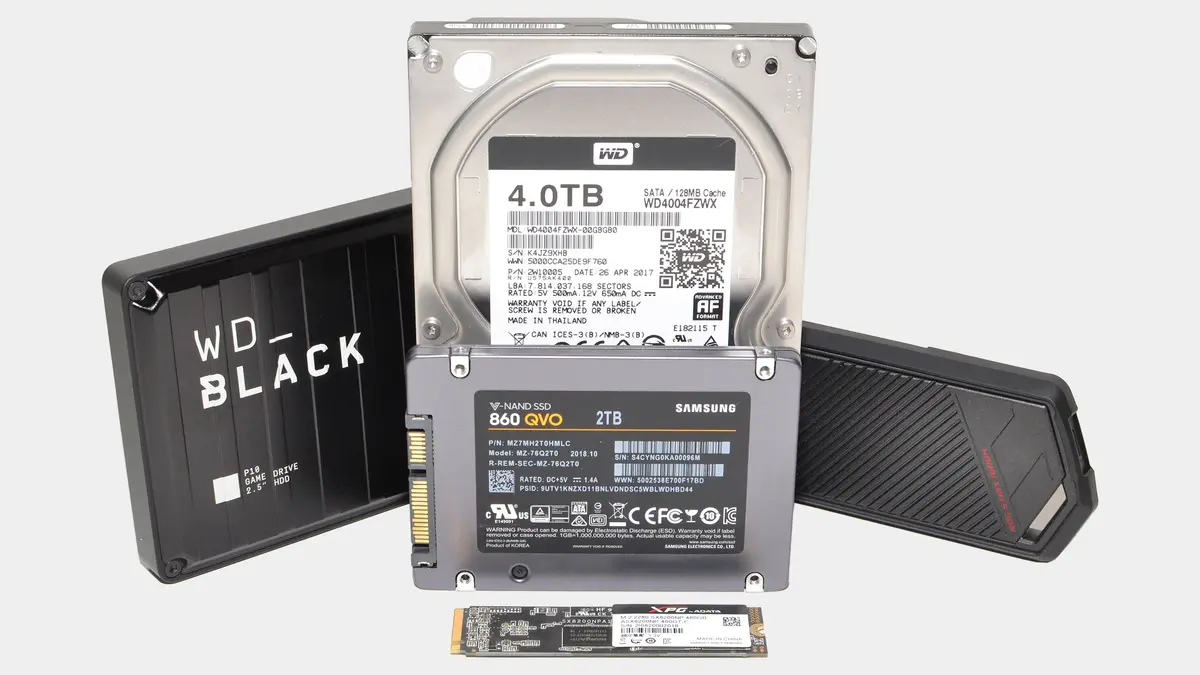
A hard drive stores data to be read by a head that moves randomly to access information. As a mechanical device, it’s slower than other storage technology nowadays such as SSD disks. In this article you will learn how to migrate from a hard drive to an SSD easily.
Hard drive disks now are almost extinct. Users look for speed and you can obtain a better performance thanks to SSD and NVMe technology. If you want to migrate from a hard drive to a SSD or NVMe device this article shows the different steps you got to follow. The main reason for this change is speed, because HDD devices are slower and generate a bottleneck when performing certain actions or running apps.
The main benefits to migrate from hard drive to SSD
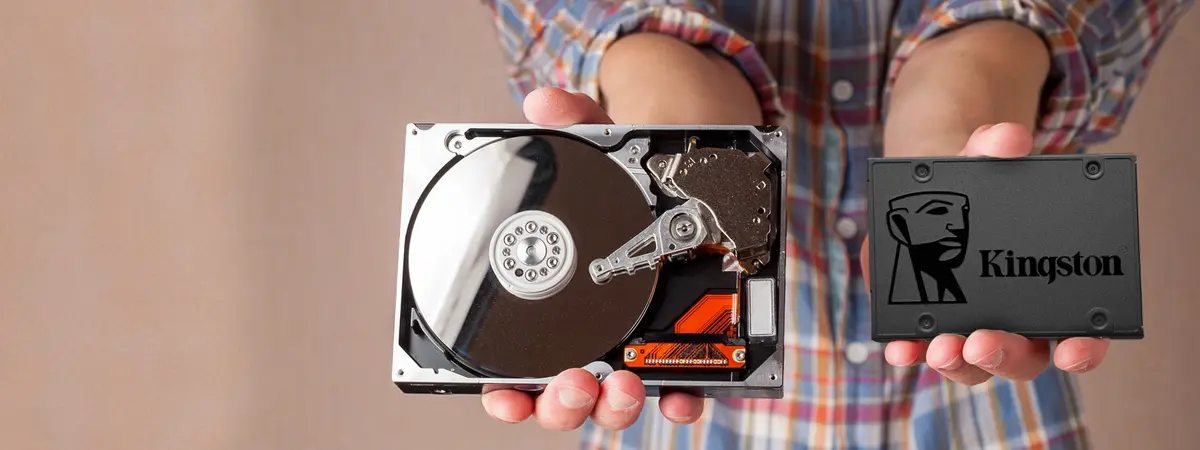
In a SSD device all the data is stored into memory cells. The main difference is that HDD store information along a physical disk. Because of this, the access time for a SSD is lesser than HDD. That’s the main benefit when choosing a SSD for your storage requirements in a computer. You can access data immediately from a SSD whereas the HDD will take time while the head moves to the part of the disk where the data is stored.
Another advantage to migrate from a hard drive to a SSD is the number of operations per second. A traditional HDD can perform 80 to 100 operations per second, but a SSD SATA can reach 10.000 operations. In SSD NVMe devices the operations can be up to 500.000 and this influences the speed of your device.
In portable devices, choosing a SSD is great because they consume less energy than HDD. The main reason for this is the absence of physical parts to move. With less energy consumption, the portable devices can enjoy more energy time depending on the model and capacity of each battery.
Moving data from a hard drive disk to a SSD
When transferring data from a HDD to a SSD you need to take into account which kind of data to move. Depending on size and format, the process will take different times.
If you want to copy all data from your HDD to your SSD, you only need to connect the SSD onto the computer and use Windows’ file explorer to copy all the important data. However, this won’t work if you want to copy the operating system. For this you need to clone the HDD content into the SSD and this guide provides a step by step follow to the process.
Migrate your operating system and data from a hard drive to a SSD
All operating systems are formed by the visible data as well as a partition table. GPT and MBR are the most common partition tables and they include different limitations when interacting with the disk.
Nowadays, the most popular partition table is GPT. It allows to work with storage units of 2 TB and more and you have no limitations for partition creation. MBR allows only 4 partitions and you can’t use it for storage units higher than 2 TB. When copying the operating system data from an HDD to a SSD, you are not copying the partition table, you are only copying files. If you want to clone the unit you have to extract the functioning base for that storage unit. An identical image of your HDD is what allows you to run the same storage data and operating system in a new SSD device.
Clone your HDD
Cloning a HDD is a very simple process. You don’t require specific knowledge. It’s possible with different apps and the steps are very easy to follow. First of all you need to check the storage capacity for both devices. They need to be at least, the same. If the main unit has more storage capacity than the destiny one, the process won’t finish. But if destiny device is higher, the process can be done very quickly.
Once you finish the cloning process, you won’t see all the unit space available. In the Disk manager you will see a part of the unit under the label “Unallocated space”.
First step
Connect your SSD to the devices where the HDD is mounted. In a desktop PC you need to connect the SSD directly to the motherboard. In portable devices you can use a USB box to connect the SSD externally. In NVMe PCIe or SATA devices, you can also use external boxes to connect the new SSD and start the cloning process.
Second step
Turn on your device with a bootable USB with the Rescuezilla app installed. It’s a free app with a very intuitive and clear interface. You should also run the Rufus app to create a bootable USB with the IOS image you have downloaded. Once you have created the bootable USB with Rufus, turn off your PC and restart it accessing BIOS / UEFI to change the order of bootable units. Select the USB port with Rescuezilla as the first option.
Third step
When yout PC detects the USB, you have to select the language for the user interface. If you don’t select any language, it will run the default English option. In the following screen you will see a brief explanation of the cloning process. Press the Next button.
- Select the source unit and choose the HDD one you want to clone. Press the Next button.
- In the following window select the SSD unit where the cloning process will end up. Click on Next.
- Remember that you will have to enable the Unallocated space after cloning the HDD directly from your Windows operating system.
- In the following screen you can select the partitions to copy. If you want to clone all the HDD content don’t uncheck any box. Press the Next button.
- The final screen is a summary of the process, the source unit, the destination and the partitions to clone.
- Check the Rescue box to try and save all defective files and sectors. Click on Next and wait for the cloning process to finish.
Last step to migrate a hard drive to a SSD device
After cloning your hard drive disk content into a SSD, you have to turn off the PC and replace the storage unit. If there was no error during the cloning process, you just need to change the boot order in the BIOS / UEFI to run directly the new SSD unit. If your computer has other storage unit installed, modify it to prioritize the SSD device. Check that AHCI mode is enabled in older computers.
Save the changes in BIOS / UEFI and let the compute boot normally. You should see that your SSD is the main unit and the files you have been using are already available. Now you can format your HDD and start using it as a secondary storage unit if you want.
Do you have any questions or problems related to the topic of the article? We want to help you.
Leave a comment with your problem or question. We read and respond to all comments, although sometimes it may take a while due to the volume we receive. Additionally, if your question inspires the writing of an article, we will notify you by email when we publish it.
*We moderate comments to avoid spam.
Thank you for enrich our community with your participation!